How to Make Sourdough Bread Starter: Your Expert Guide

A cozy breakfast scene featuring rustic bread, a jar of jam, and a glass of milk on a textured tablecloth.
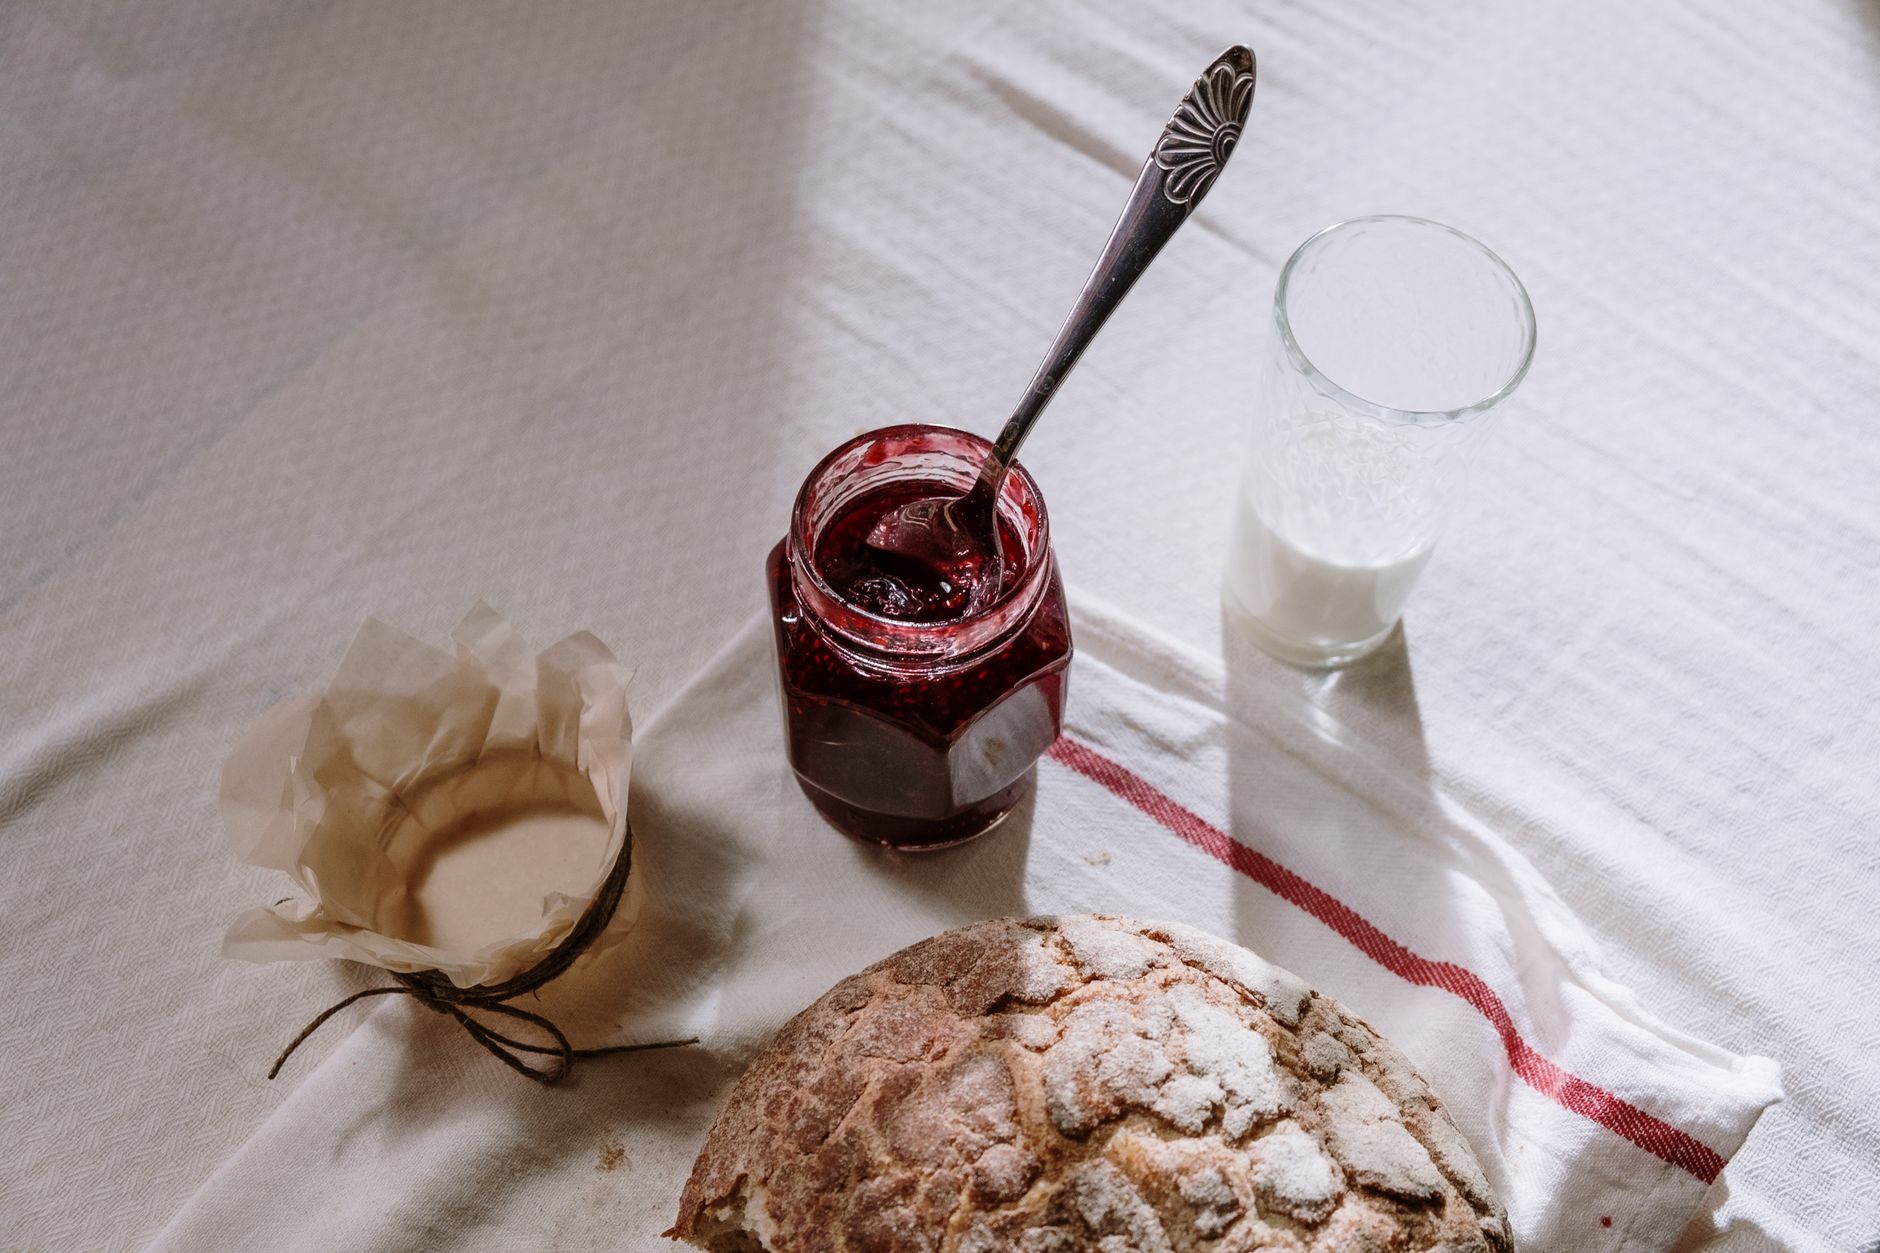
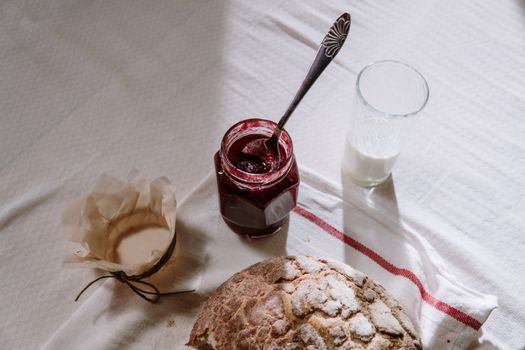
Photo: cottonbro studio / Pexels

How to Make Sourdough Bread Starter: Your Expert Guide

Unlock the secrets to cultivating a robust, active sourdough starter for incredible homemade bread.

Start Your Sourdough Journey

Key Takeaways

  • ✓ Sourdough starter is a living culture of wild yeast and bacteria.
  • ✓ It requires only flour and water to begin.
  • ✓ Consistency and regular feeding are crucial for success.
  • ✓ A mature starter can last indefinitely with proper care.

How It Works

1
Combine Flour & Water

Mix equal parts whole wheat flour and filtered water in a jar. This initial mixture kickstarts the fermentation process.

2
Daily Feeding Cycle

Discard most of the starter and feed the remainder with fresh flour and water daily. This provides new nutrients for the growing microbes.

3
Observe & Adapt

Watch for signs of activity like bubbles and a pleasant sour smell. Adjust feeding frequency based on your environment's temperature.

4
Achieve Maturity

After 7-14 days, your starter should consistently double in size within 4-8 hours after feeding. It's then ready for baking.

The Magic of Sourdough: Understanding Your Starter

Delicious homemade waffles served with fresh blueberries for a perfect breakfast.Photo: Jill Wellington / Pexels
Embarking on the journey of how to make sourdough bread starter is more than just mixing flour and water; it's about cultivating a living, breathing ecosystem. At its heart, a sourdough starter is a symbiotic culture of wild yeasts and lactic acid bacteria (LAB) that exist naturally in flour and in the air around us. These microscopic organisms work together to ferment sugars in the flour, producing carbon dioxide (which leavens the bread) and a host of organic acids (which give sourdough its characteristic tangy flavor and improve its digestibility and shelf life). Unlike commercial yeast, which is a single, isolated strain, a sourdough starter is a diverse community, making it more resilient and imparting a unique complexity to your bread. Understanding this fundamental principle is key to successful starter creation. You're not just following a recipe; you're nurturing life. This means paying attention to its behavior: the bubbles it produces, the way it smells, and its texture. The initial days of your starter's life are crucial. You're encouraging the right kind of microbial growth while discouraging unwelcome guests. Patience is truly a virtue here. Many aspiring bakers get discouraged when their starter doesn't show immediate signs of vigor, but remember, these microorganisms need time to establish themselves and reach a critical mass. The journey from inactive flour and water to a bubbling, active starter is a fascinating natural process that connects you directly to the ancient art of bread making. It's a testament to the power of natural fermentation and a gateway to a world of incredibly flavorful and nutritious homemade bread. Think of your starter as a pet; it needs regular feeding and a suitable environment to thrive. The reward for your diligence is a starter that can produce loaves of bread with unparalleled crust, crumb, and flavor. Delving into the science behind it can be incredibly rewarding, helping you troubleshoot and adapt your approach as needed. Explore the science of fermentation further to deepen your understanding of this amazing process. It's a continuous learning curve, but one that yields delicious results.

Gathering Your Essentials: Ingredients and Equipment for Starter

Delicious homemade waffles served with fresh blueberries for a perfect breakfast.Photo: Jill Wellington / Pexels
Before you even think about how to make sourdough bread starter, gathering the right ingredients and equipment is paramount. While the list is surprisingly short, the quality of each item plays a significant role in your starter's health and activity. **Flour:** This is the primary food source for your wild yeasts and bacteria. For the initial stages, many experts recommend using a whole-grain flour, such as whole wheat or rye flour. These flours contain a higher concentration of naturally occurring wild yeasts and nutrients, giving your starter a stronger kickstart. Organic flour is often preferred as it minimizes exposure to pesticides or chemicals that could inhibit microbial growth. Once your starter is established, you can gradually transition to unbleached all-purpose flour or bread flour for daily feedings, as these are more economical and produce a milder flavor. Avoid bleached flours, as the bleaching process can damage the natural microbes. **Water:** Tap water often contains chlorine or chloramines, which are disinfectants designed to kill microorganisms – precisely what you're trying to cultivate! Therefore, it's crucial to use filtered water or bottled spring water. If you only have tap water, you can leave it uncovered in a pitcher for 24 hours to allow the chlorine to dissipate. This simple step can make a huge difference in your starter's vitality. **Jars/Containers:** You'll need a glass jar with a wide mouth, such as a quart-sized Mason jar. Glass is non-reactive and allows you to easily observe your starter's activity. Avoid metal containers, which can react with the acidic starter. The jar should have a lid, but it shouldn't be airtight. A loosely fitted lid, a piece of plastic wrap, or a clean kitchen towel secured with a rubber band will allow air exchange while preventing contaminants from entering. **Scale:** A digital kitchen scale is absolutely essential for precise measurements. Sourdough baking, and starter maintenance, thrives on accuracy. Measuring by weight (grams) ensures consistent ratios of flour and water, which is critical for maintaining a healthy starter. Volume measurements (cups) are notoriously inaccurate for flour. **Spatula or Spoon:** A rubber spatula or a wooden spoon is ideal for mixing your starter. Avoid metal utensils for prolonged contact, although a quick stir is generally fine. **Thermometer (Optional but Recommended):** An ambient thermometer for your kitchen and a probe thermometer for water can be helpful. Temperature plays a significant role in fermentation speed. Maintaining a consistent room temperature (ideally 70-78°F or 21-26°C) is beneficial for active starter growth. By carefully selecting these basic items, you set yourself up for success in creating a vibrant, active sourdough starter that will be the heart of your homemade bread. Don't skimp on quality, especially for the flour and water, as these are the lifeblood of your starter.

A Day-by-Day Guide to Cultivating Your Sourdough Starter

This day-by-day guide breaks down how to make sourdough bread starter into manageable steps, making the process approachable for beginners. Remember, consistency and observation are your best tools. **Day 1: The Inauguration** In a clean, wide-mouthed glass jar, combine 50 grams (approximately 1/2 cup) of whole wheat or rye flour with 50 grams (approximately 1/4 cup) of filtered water. Mix thoroughly with a non-metal spoon or spatula until no dry clumps of flour remain. The mixture should have the consistency of a thick batter. Scrape down the sides of the jar, cover loosely with a lid, plastic wrap, or a clean cloth, and place it in a warm spot (ideally 70-78°F / 21-26°C) in your kitchen. This initial mix begins the activation of wild yeasts and bacteria present in the flour. You might not see much activity, but the microorganisms are starting their work. **Day 2: First Signs of Life?** Check your starter. You might see a few small bubbles, or it might still look the same. Don't worry if there's no visible change yet; it's still early. Today, you'll simply stir the mixture once or twice throughout the day. Do not feed it yet. The microbes are still multiplying and adjusting to their new environment. The smell might be slightly yeasty, or even a bit like glue or cheese – these are normal initial smells. **Day 3: The First Feed** By now, you might see more bubbles, and the starter might have a slightly sour, yeasty smell. It might even have a thin layer of liquid (hooch) on top; this indicates hunger. Discard all but 50 grams (about 1/4 cup) of your starter. To the remaining 50g, add 50 grams of fresh whole wheat or rye flour and 50 grams of filtered water. Mix well, cover loosely, and return to your warm spot. Discarding most of the starter might seem wasteful, but it's crucial to manage the microbial population and ensure there's enough fresh food for the active cultures. This also keeps the volume manageable. **Day 4-6: Regular Feeding and Observation** Continue the daily feeding routine: discard all but 50 grams of starter, then feed with 50g flour and 50g water. You should start seeing more consistent activity. The starter should begin to rise and fall predictably after feeding, developing more bubbles, and smelling distinctly sour and yeasty, perhaps even fruity. The 'hooch' (if present) should be a light brown color; dark hooch indicates the starter is very hungry and might need more frequent feeding or a slightly warmer environment. If it smells strongly of nail polish remover, it's very hungry and might need an extra feeding or a bigger discard. Learn more about the various smells of fermentation to better understand what your starter is telling you. **Day 7-14: Maturity and Readiness** By this stage, your starter should be consistently doubling (or even tripling) in size within 4-8 hours after feeding. It will be full of bubbles, have a pleasant, tangy aroma, and feel light and airy. To test if it's truly ready, perform the 'float test': drop a small spoonful of starter into a glass of water. If it floats, it's active and ready to bake with! If it sinks, it needs a bit more time and consistent feeding. Continue daily feedings until it reliably passes the float test. Once mature, you can transition to feeding with unbleached all-purpose or bread flour and consider refrigerating it for less frequent feedings.

Troubleshooting and Maintaining Your Active Starter

Even after you successfully learn how to make sourdough bread starter, maintaining its vitality is an ongoing process that sometimes presents challenges. Understanding common issues and their solutions will help you keep your starter robust and ready for baking. **Problem: No Activity / Little Bubbles** * **Solution:** This is common in the early days. Ensure your kitchen temperature is warm enough (70-78°F / 21-26°C). Cold temperatures slow down fermentation. Also, make sure you're using filtered water and whole grain flour initially. Increase feeding frequency to twice a day if needed, and make sure you're discarding enough old starter before feeding to give the new microbes room to grow and fresh food to consume. **Problem: Foul Smell (Nail Polish Remover, Vomit, or Rancid)** * **Solution:** A strong nail polish remover smell (acetone) indicates extreme hunger. Your starter is literally starving and producing alcohol. Increase feeding frequency, ensure your feeding ratio is 1:1:1 (starter:flour:water by weight), and consider a larger discard to dilute the acidic environment. If it smells truly rancid or like vomit, it might be contaminated. While rare with proper hygiene, it's best to discard and start fresh if the smell is overwhelmingly unpleasant and persistent after a few feedings. A healthy starter should smell pleasantly sour, yeasty, and sometimes even fruity. **Problem: Dark Hooch (Liquid on Top)** * **Solution:** Hooch is the alcohol produced by yeast when it's hungry. Dark hooch (brown or black) means your starter is very hungry. Simply pour off the hooch, discard most of the starter, and feed it with fresh flour and water. Consider feeding it more frequently or using a slightly higher ratio of flour in your feeding (e.g., 1:2:2 starter:flour:water) for a few days to strengthen it. **Problem: Mold Growth** * **Solution:** Mold is usually fuzzy, green, black, or pink. If you see any mold, unfortunately, you must discard the entire starter and jar and start over. Do not attempt to salvage it, as mold can produce toxins. Ensure your jar is always clean, and that you're covering it loosely to allow air exchange but prevent airborne contaminants. **Maintenance for an Active Starter:** Once your starter is mature and consistently active, you can maintain it on your counter with daily feedings (1:1:1 ratio) if you bake frequently. If you bake less often, you can store your starter in the refrigerator. When refrigerating, feed it well, let it sit on the counter for an hour or two, then place it in the fridge. Feed it once a week, taking it out, letting it warm up for a few hours, feeding it, letting it become active on the counter, and then returning it to the fridge. Always perform 1-2 active feedings on the counter after taking it out of the fridge before using it for baking, to ensure it's at its peak strength. Consistent care and observation are the true secrets to a long-lasting, vibrant sourdough starter.

Comparison

FeatureSourdough StarterCommercial Yeast (Active Dry)Commercial Yeast (Instant)
Leavening AgentWild yeast & bacteriaSaccharomyces cerevisiaeSaccharomyces cerevisiae
Flavor ProfileComplex, tangy, uniqueMild, yeastyMild, yeasty
Digestion BenefitsImprovedMinimalMinimal
Shelf LifeIndefinite (with care)Months (sealed)Months (sealed)
Preparation Time7-14 days to establishInstantInstant
Ingredient CostVery low (flour/water)LowLow
Control over FermentationHighLowLow

What Our Readers Say

5 ★★★★★

"This guide on how to make sourdough bread starter was incredibly clear and detailed. My starter, 'Bubbles,' is now thriving after just 10 days, consistently doubling after feeding. I'm so excited to finally bake my first loaf!"

5 ★★★★★

"I tried making a starter before and failed. This article's emphasis on temperature and precise measurements made all the difference. My new starter is vigorous and smells wonderfully sour, just like it should."

5 ★★★★★

"Following these instructions, I successfully created a robust sourdough starter that now produces amazing, tangy loaves every week. The troubleshooting section was particularly helpful when I had dark hooch."

4 ★★★★☆

"The guide was mostly excellent, though my starter took a bit longer than 14 days to fully activate, likely due to my cooler kitchen. Still, the detailed day-by-day instructions kept me on track until it was ready."

5 ★★★★★

"As someone who bakes gluten-free, I adapted these instructions for a gluten-free flour blend, and it worked beautifully. This comprehensive guide made the process of how to make sourdough bread starter feel achievable and fun."

Frequently Asked Questions

What is the best flour to start a sourdough starter with?
For initial creation, whole wheat or rye flour is highly recommended. These flours contain more naturally occurring wild yeasts and nutrients, which provide a stronger kickstart for your starter's microbial growth. Once established, you can transition to unbleached all-purpose or bread flour for daily feedings.
My starter isn't bubbling; is it dead?
Not necessarily! Lack of bubbles, especially in the first few days, is common. Ensure your kitchen is warm enough (70-78°F), you're using filtered water, and you're feeding it consistently. Patience is key; it often takes 7-14 days for a starter to become consistently active. Keep feeding it, and it will likely perk up.
How often should I feed my sourdough starter?
During the initial creation phase, feed your starter once daily. Once it's mature and active, if kept at room temperature, it typically needs feeding once every 12-24 hours. If stored in the refrigerator, it can be fed once a week. Always feed it 1-2 times on the counter after refrigeration before baking.
Is making a sourdough starter expensive?
No, making a sourdough starter is very inexpensive. It only requires flour and water, both of which are common pantry staples. The main 'cost' is your time and patience in nurturing it. A digital kitchen scale is a useful one-time investment but not strictly required to start, though highly recommended for accuracy.
How does sourdough starter compare to commercial yeast?
Sourdough starter uses wild yeasts and bacteria, creating complex flavors and improving digestibility, but requires more time and maintenance. Commercial yeast is a single, cultivated strain, offering rapid and predictable leavening with a milder flavor profile. Sourdough bread has a unique tangy taste and chew that commercial yeast cannot replicate.
Who should make a sourdough starter?
Anyone interested in baking artisan bread with unique flavor, improving bread's digestibility, or simply enjoying a rewarding culinary project should consider making a sourdough starter. It's perfect for those who appreciate natural fermentation and want to connect more deeply with their food.
Is it safe to eat sourdough bread made with a homemade starter?
Absolutely! Homemade sourdough starters have been used for thousands of years to make bread. The fermentation process makes the bread more digestible and enhances its nutritional profile. As long as your starter smells pleasant (tangy, yeasty, not foul) and shows no signs of mold, it is perfectly safe to use.
What are the future trends for sourdough baking?
The future of sourdough baking is leaning towards greater exploration of different flours (ancient grains, sprouted flours), personalized starter maintenance based on climate, and advanced techniques like cold fermentation for flavor development. There's also a growing interest in understanding and manipulating the microbial balance for specific flavor profiles.

Mastering how to make sourdough bread starter is a rewarding journey that connects you to an ancient culinary art. With patience and consistent care, you'll cultivate a vibrant starter ready to transform your home baking. Begin your sourdough adventure today and savor the incredible flavor and satisfaction of homemade sourdough bread.

Topics: how to make sourdough bread startersourdough starter recipenatural yeast starterfeeding sourdough startersourdough starter troubleshooting
Leo List
Brampton weed
Adultwork